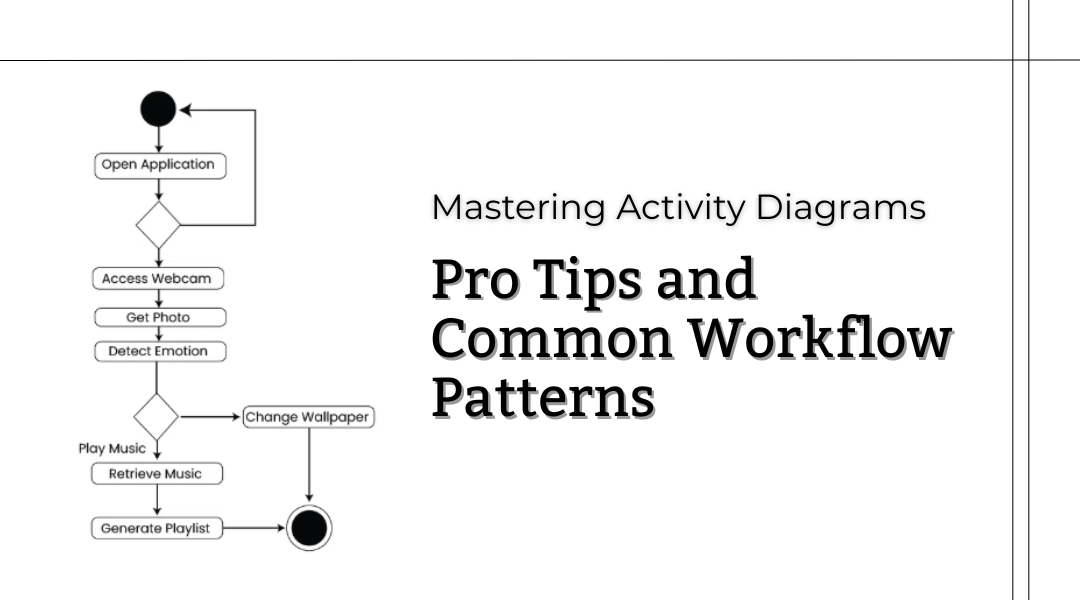
Activity diagrams are like roadmaps for how systems and processes work—they show the step-by-step flow, decision points, and who’s responsible for what. Whether you’re designing software, optimizing a business process, or troubleshooting a workflow, a well-built activity diagram can save time and prevent confusion.
But not all diagrams are created equal. A messy or unclear one can do more harm than good. So, how do you make sure yours are clean, effective, and actually useful? Let’s break down the best practices and most common patterns you’ll see in real-world scenarios.
Best Practices for Clear and Effective Activity Diagrams
1. Start with a Clear Purpose
Before drawing anything, ask: What exactly am I modeling? Is it a user login flow? An order fulfillment process? A manufacturing workflow? Nail down the scope—otherwise, you risk cramming too much into one diagram or leaving out critical steps.
Example: If you’re mapping an e-commerce checkout, focus only on the steps from cart to payment confirmation—not inventory management or customer support.
2. Use Swimlanes to Show Who Does What
Swimlanes (vertical or horizontal divisions) help assign actions to the right roles—whether it’s a user, system, or department. Without them, it’s easy to lose track of responsibility.
Example: In a food delivery app, separate lanes for Customer, Restaurant, and Delivery Driver clarify who triggers each action (e.g., “Confirm Order” vs. “Prepare Meal”).
3. Keep Labels Simple and Action-Oriented
Every step should have a clear, concise name—preferably starting with a verb. Avoid vague terms like “Handle Data” and instead use “Validate Payment” or “Generate Invoice.”
Bad: “System Processing”
Good: “Charge Customer’s Credit Card”
4. Make Control Flows Obvious
Arrows should clearly show the sequence. If the flow isn’t intuitive at a glance, people will misinterpret it.
Pro Tip: Avoid crossing arrows where possible—if things get tangled, split the diagram into smaller parts.
5. Break Down Overly Complex Processes
If your diagram looks like a bowl of spaghetti, simplify it. Use sub-processes or separate diagrams for intricate sections.
Example: Instead of detailing every step of “Process Refund” in one giant flow, link to a separate diagram for refund verification steps.
6. Highlight Decision Points
Diamond-shaped decision nodes should have clear yes/no or if/then branches. Don’t leave people guessing what conditions lead where.
Example:
- “Is Payment Approved?” → Yes → “Confirm Order”
- “Is Payment Approved?” → No → “Show Error Message”
7. Show Data Movement When It Matters
If objects or data (like an order form or approval request) pass between steps, illustrate that with object flows. Just don’t overdo it—only include what’s essential.
Example: In a loan application, show the “Submitted Application” moving from the customer to the underwriter.
8. Test with Real Users
Before finalizing, walk through the diagram with someone unfamiliar with the process. If they get stuck, it needs refining.
Common Workflow Patterns You’ll Actually Use
1. Straight-Line Sequences
The simplest pattern: one step follows another without detours.
Example:
- User submits form → 2. System saves data → 3. Confirmation email sent
2. Parallel Tracks (Fork & Join)
Some tasks happen simultaneously. Use fork/join symbols to show where they split and sync back up.
Example:
- In a video upload flow:
- Fork → “Encode Video” (happens while) → “Generate Thumbnail”
- Join → Both finish before “Publish to Dashboard”
3. Branching Decisions
Classic if/then logic. Every branch should have a clear condition.
Example:
- “Does User Have VIP Status?”
- Yes → “Apply Discount”
- No → “Proceed to Checkout”
4. Synchronization Points
When multiple tasks must finish before moving forward (like waiting for two teams to complete their parts).
Example:
- A software release might require:
- “QA Testing Complete” and “Marketing Docs Ready”
- Before → “Deploy to Production”
5. Repeating Loops
For processes that repeat until a condition is met (like retrying failed actions).
Example:
- Loop: “Attempt Payment” → If fails → “Retry (max 3 attempts)” → Else → Exit loop
6. Error Handling Paths
Don’t just map the happy path—show what happens when things go wrong.
Example:
- “Process Payment” → If declined → “Notify Customer” → “Revert Inventory Hold”
Final Thought: Clarity Over Cleverness
The best activity diagrams aren’t the most artistic—they’re the ones that eliminate ambiguity. Stick to these practices, use patterns that fit your scenario, and always prioritize readability. When in doubt, ask yourself: “Would a new team member understand this without explanation?” If yes, you’ve nailed it.
